Create and Label the OR States
- 1
- Double-click on the State button

in the toolbar. The button appears
depressed and is now in multiple object mode. Using the sample solution
Stateflow diagram as a guide, click in the drawing area to place the states
in the drawing area. The Stateflow diagram is exclusive (OR) decomposition
by default, so you do not need to change the decomposition. The states
correspond to these states in the solution:
- Press the Escape key or click on the State button to toggle the button out of
multiple object mode.
- 2
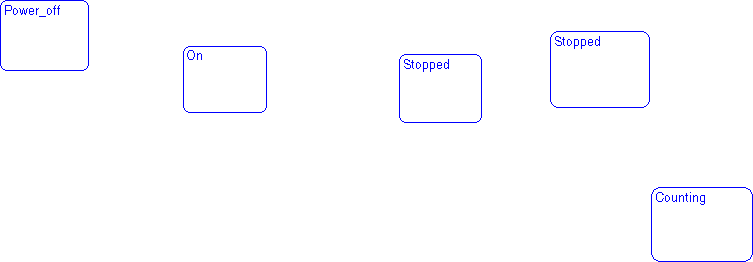
- Click on the ? character within each state to enter each state label. The final
text after the last period is the individual state's name. There are some
states that have the same text as their label. This is ok since the hierarchy
of the state is used to create a unique label. For example, both the
Ride and
Timer superstates have a Stopped substate. Reading the Stateflow diagram,
you can see that these states are uniquely described by the text
Power_on.Ride.Stopped and Power_on.Timer.Stopped.
- Use the sample solution to label the states based on their placement in the
drawing area. Deselect the state (press the Escape key) to exit the edit.
Sample Snapshot
Your Stateflow diagram should look similar to this Stateflow diagram.
[ Previous | Help Desk | Next ]